Organizations
Learn how to create and manage organizations in Alan Workstation to collaborate with your team and manage resources effectively.
Overview
Organizations in Alan Workstation provide a structured way to collaborate with team members, manage shared resources, and control access to documents. When you first create an account on the platform, you'll be prompted to create your first organization, which serves as the foundation for your work in Alan Workstation.
Creating an Organization
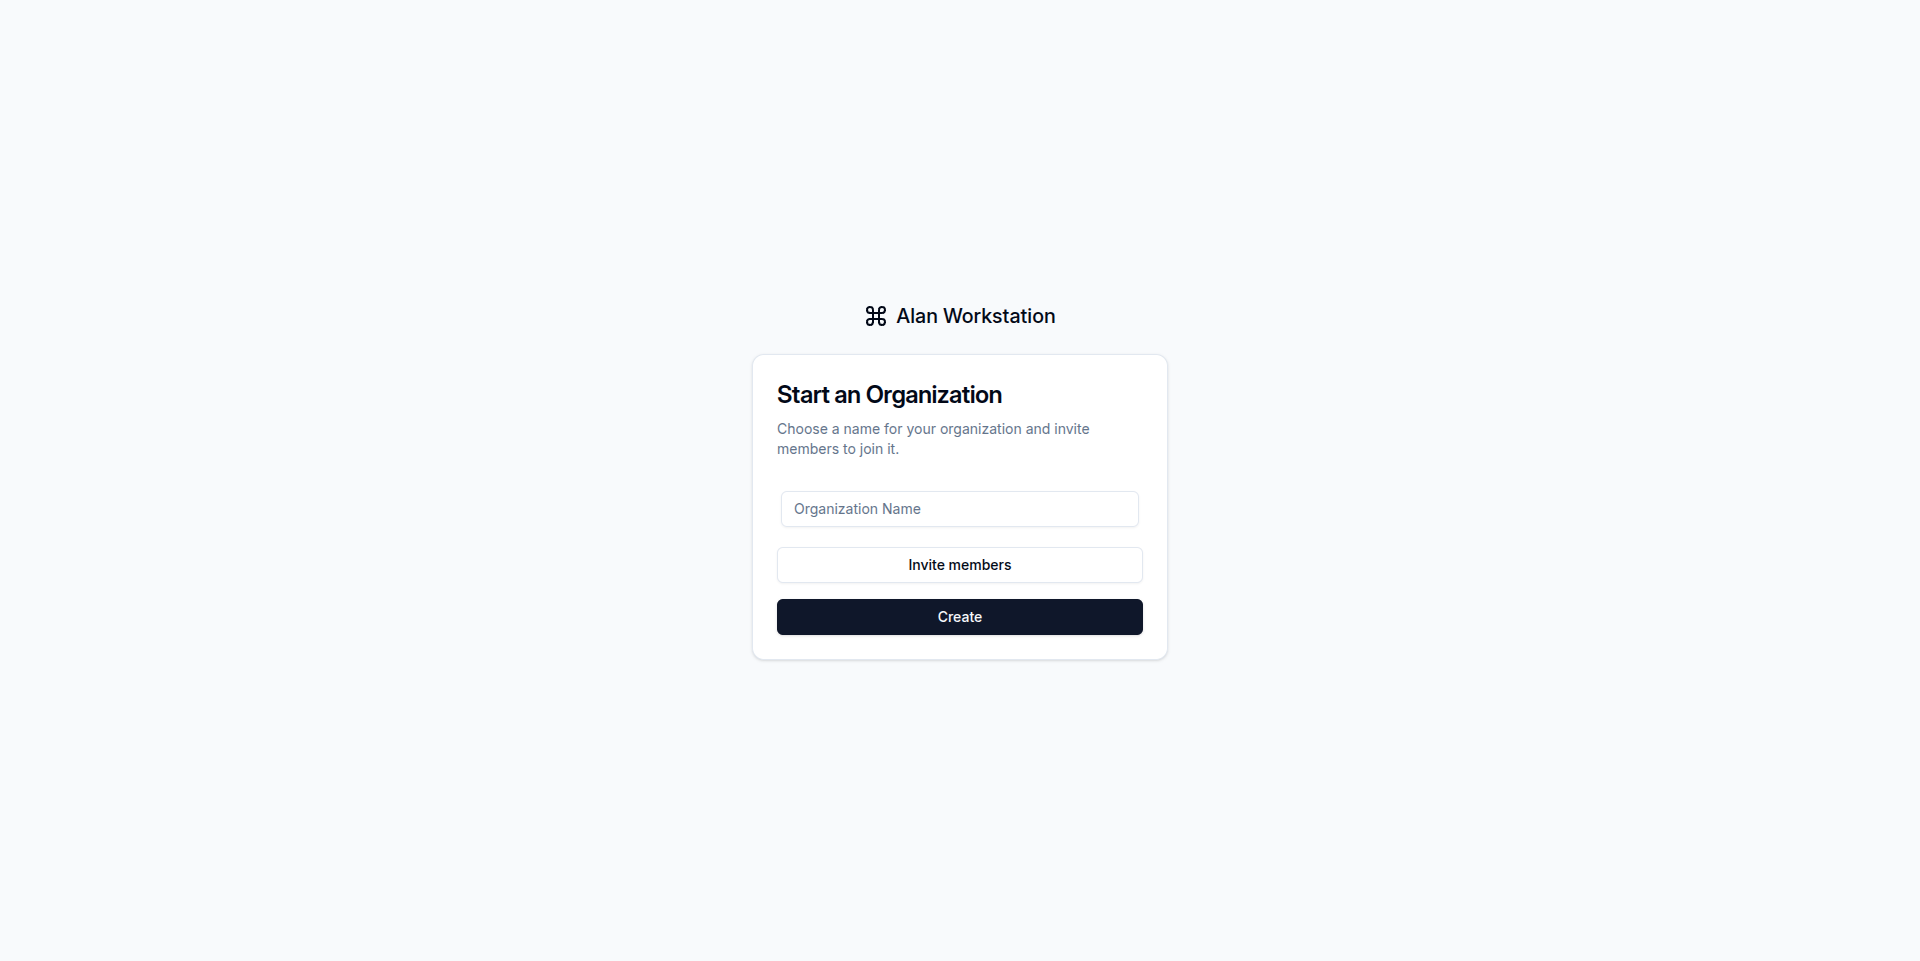
To create your first organization:
- Sign up or log in to Alan Workstation
- You'll be automatically prompted to create an organization
- Enter your organization name
- Choose an organization URL (this will be used in your workspace URL)
- Click "Create Organization" to proceed
Once created, you'll be directed to your organization's workspace where you can begin uploading files and inviting team members.
Organization Plans and Limits
Each organization operates under a specific plan that determines usage limits and available features. These limits include:
- Questions asked: The number of messages you can send to Alan
- Processed pages: When documents are uploaded and processed, they're divided into pages, with each page counting toward this limit
- Minutes used: Time allocated for video and audio processing
- Organization members: The maximum number of users you can add to your organization
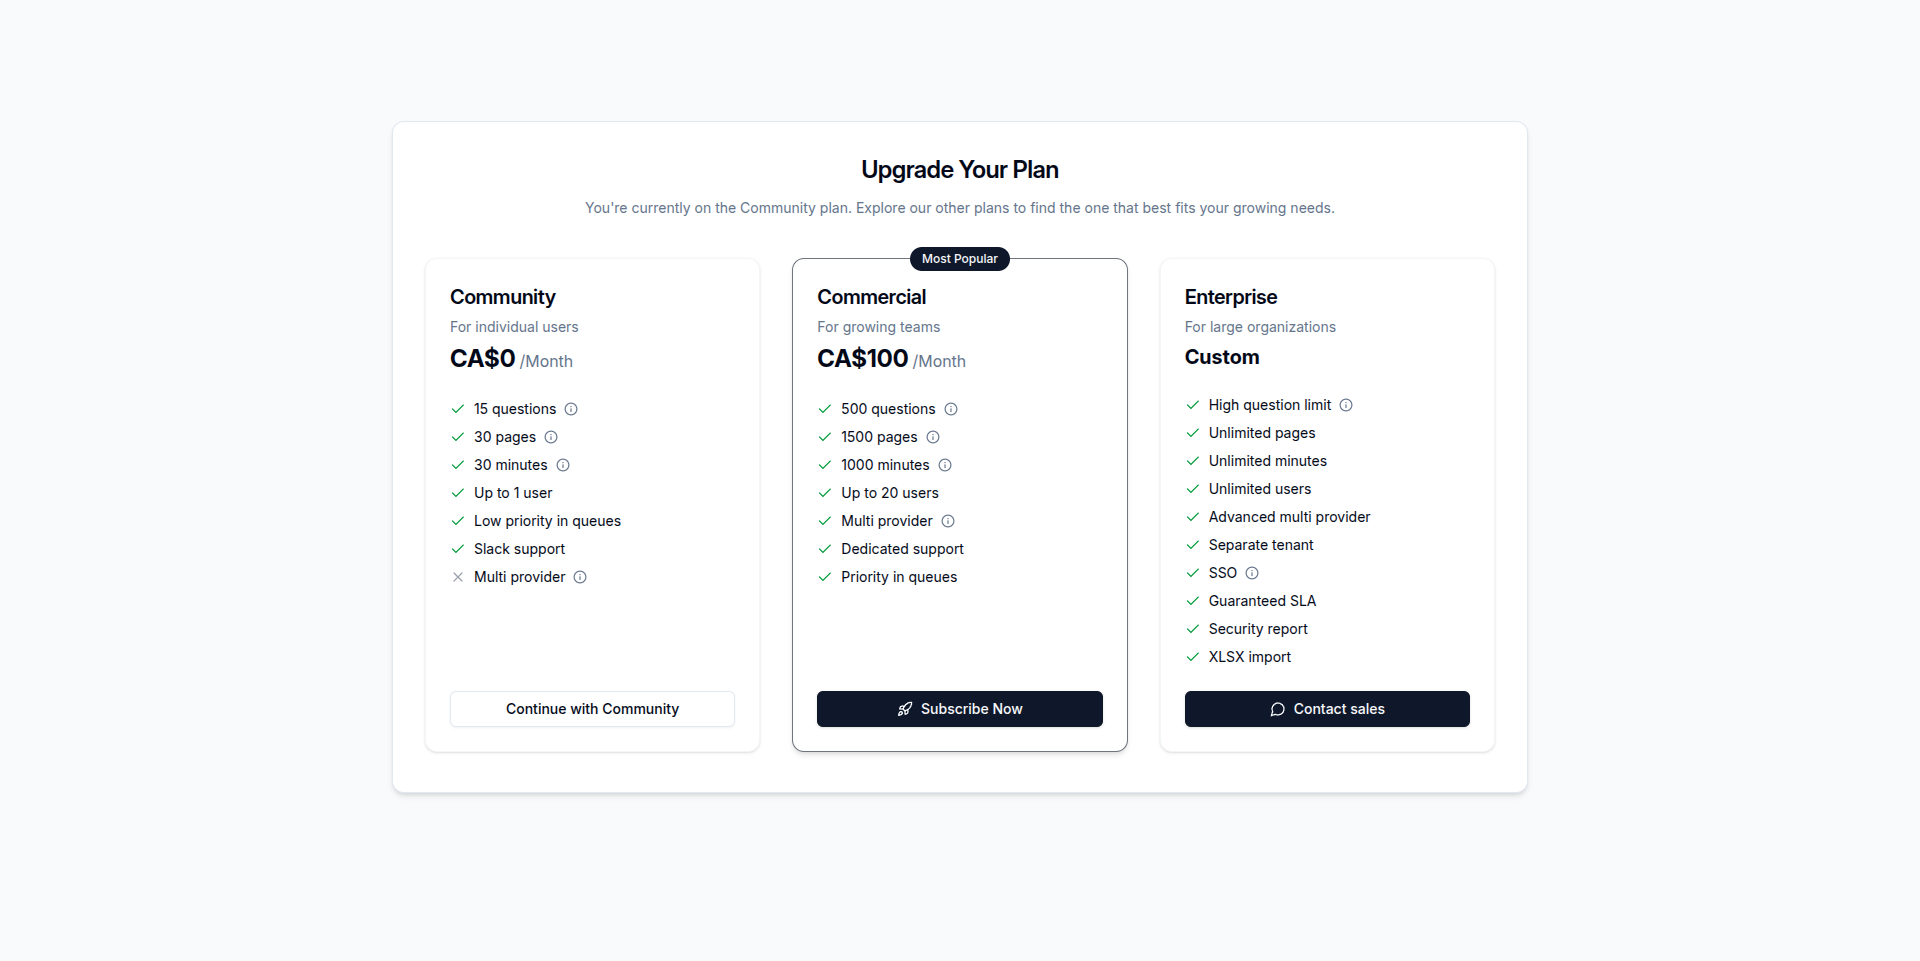
Every newly created organization starts with the Community plan, which includes:
- 15 questions
- 30 processed pages
- 30 minutes of video/audio processing
- 1 organization member
Upgrading Your Plan
To access higher limits and additional features:
- Navigate to plan selection page in your workspace
- Review the available Commercial and Enterprise plans
- Select the plan that best fits your organization's needs
- Complete the payment process to activate your new plan
Upgrading your plan immediately increases your organization's quotas, allowing for more questions, processed pages, and team members.
Organization Credits and Billing
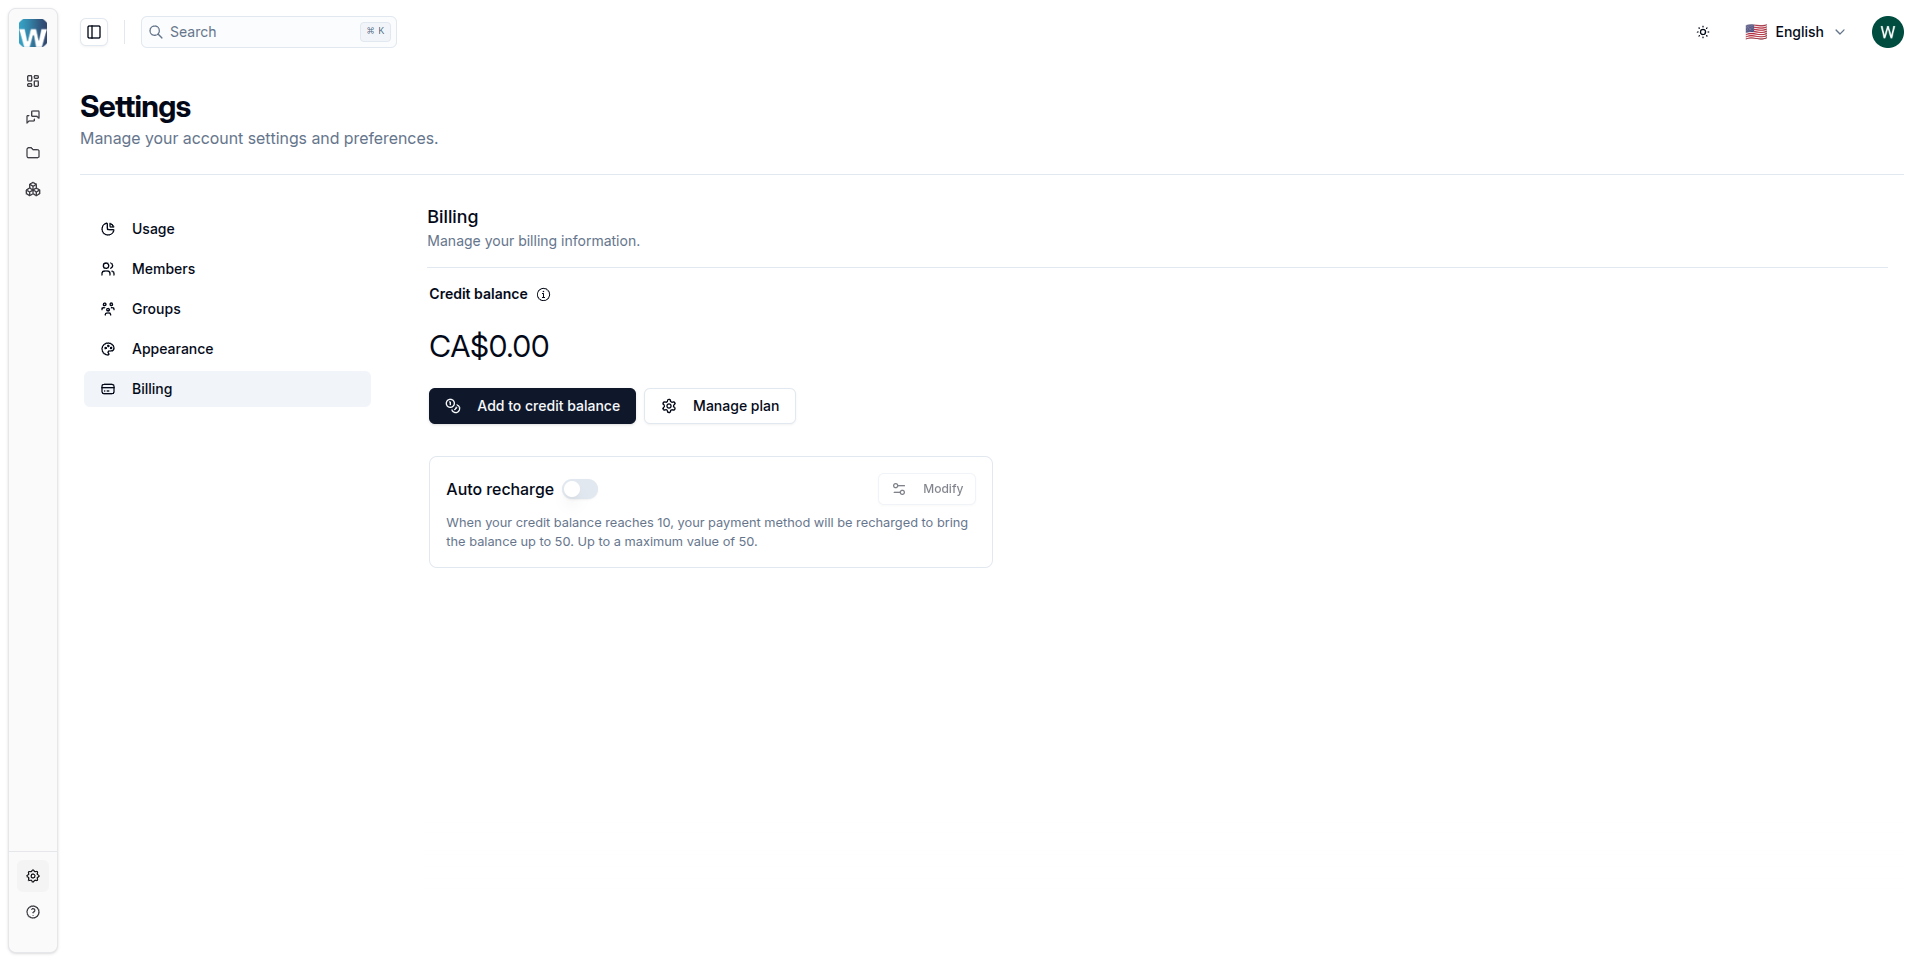
When your plan's quota is exhausted, you can continue using the platform as long as your organization has credits in its balance. To manage your organization's billing:
- Go to billing settings page in your workspace
- View your current balance and usage
- Add funds to your organization's balance
- Set up auto-recharge to ensure uninterrupted service
Switching Between Organizations
If you belong to multiple organizations:
- Click on your profile picture in the top-left corner
- Choose the organization you want to access
- You'll be redirected to that organization's workspace
Optionally, you can create a new organization by clicking on the "Add organization" button in the same dropdown menu.
Each organization maintains separate resources, files, and conversations, allowing you to keep work contexts completely separate.